
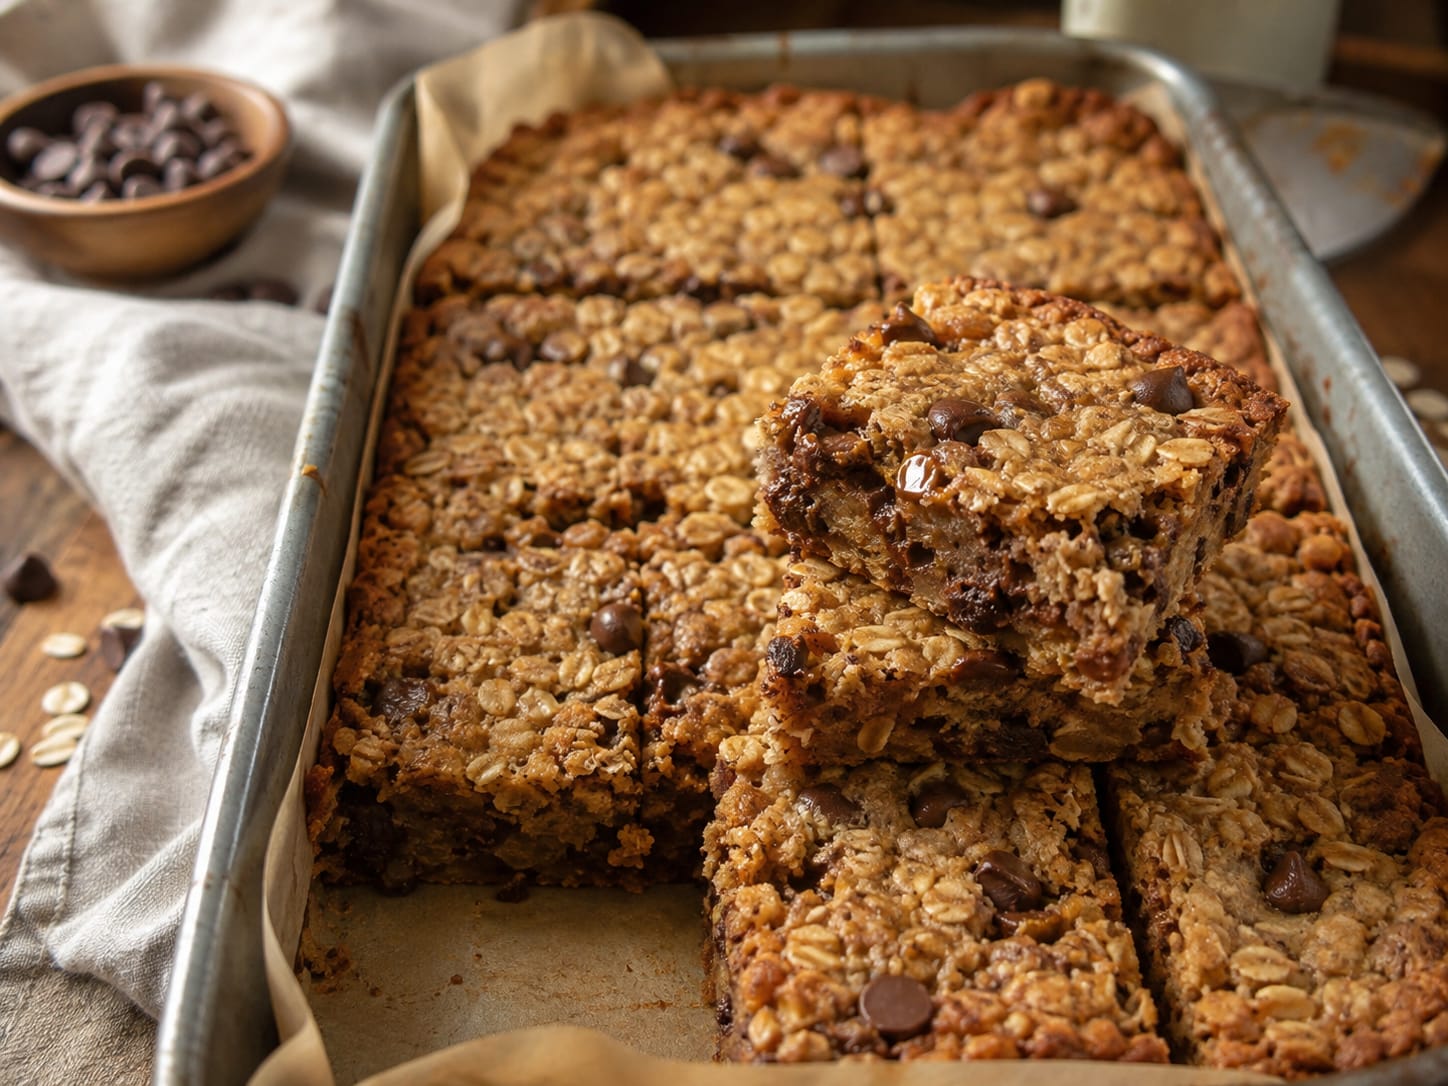

One-Pan Oatmeal Chocolate Chip Squares
Chewy oatmeal chocolate-chip squares that can be mixed and baked right in the same 9 x 13 pan. No mixer is needed, and you do not even need a separate bowl unless you prefer one. This is one of the easiest recipes in the collection and a great choice for a first-time baker.
Ingredients
Equipment
Method
- Preheat the oven. Preheat to 350°F / 175°C. Position a rack in the center.
- Grease the pan. Lightly grease a 9 x 13-inch / 23 x 33-cm baking pan. A metal pan is ideal.
- Add the dry ingredients directly to the pan. Add the oats, flour, granulated sugar, brown sugar, salt, baking soda, and chocolate chips directly to the greased pan.
- Mix with a fork. Stir the dry ingredients thoroughly. Break apart any brown-sugar lumps and make sure the baking soda is evenly distributed.
- Make two small wells. Create two open spaces in the dry mixture. Add the eggs, oil, and vanilla into the wells.
- Break the eggs. Use the fork to break the yolks and mix the wet ingredients together slightly.
- Mix everything. Pull the dry ingredients into the wet and continue stirring until no dry flour remains. Scrape through the corners and edges of the pan.
- Check the texture. The mixture should be much thicker than cake batter – more like soft oatmeal-cookie dough. It should not be pourable.
- Press into an even layer. Use the fork or a rubber spatula to spread the mixture evenly across the pan and into the corners.
- Bake. Bake at 350°F / 175°C for about 25 minutes. Begin checking around 22-23 minutes if using a dark metal pan.
- Check for doneness. Look for lightly golden edges, a set top, and a center that no longer looks wet but is still somewhat soft.
- Do not overbake. The squares continue to firm as they cool. Baking until the entire pan feels crisp will make them hard instead of chewy.
- Cut while warm. Let the pan rest for about 5-10 minutes, then cut the squares while they are still warm.
- Cool before lifting. Leave the cut squares in the pan until mostly cool, then separate and serve.
- One-bowl option. If mixing directly in the pan feels awkward, use one bowl instead. Mix all the dry ingredients, add the eggs, oil, and vanilla, stir until combined, press into the greased pan, and bake exactly the same way.
Notes
Flour
Whole-wheat flour gives the squares their hearty oatmeal-bar character. If unavailable, use 1 cup (120 g) all-purpose flour.
Make Ahead, Storage & Freezing
- Make ahead: Excellent made 1-2 days ahead.
- Room temperature: Store airtight for 3-4 days.
- Refrigerator: Up to 1 week, though the bars will become firmer when cold.
- Freezer: Cut first, place parchment between layers, and freeze airtight for up to 3 months. Individual squares thaw quickly at room temperature.

Leave a Reply