
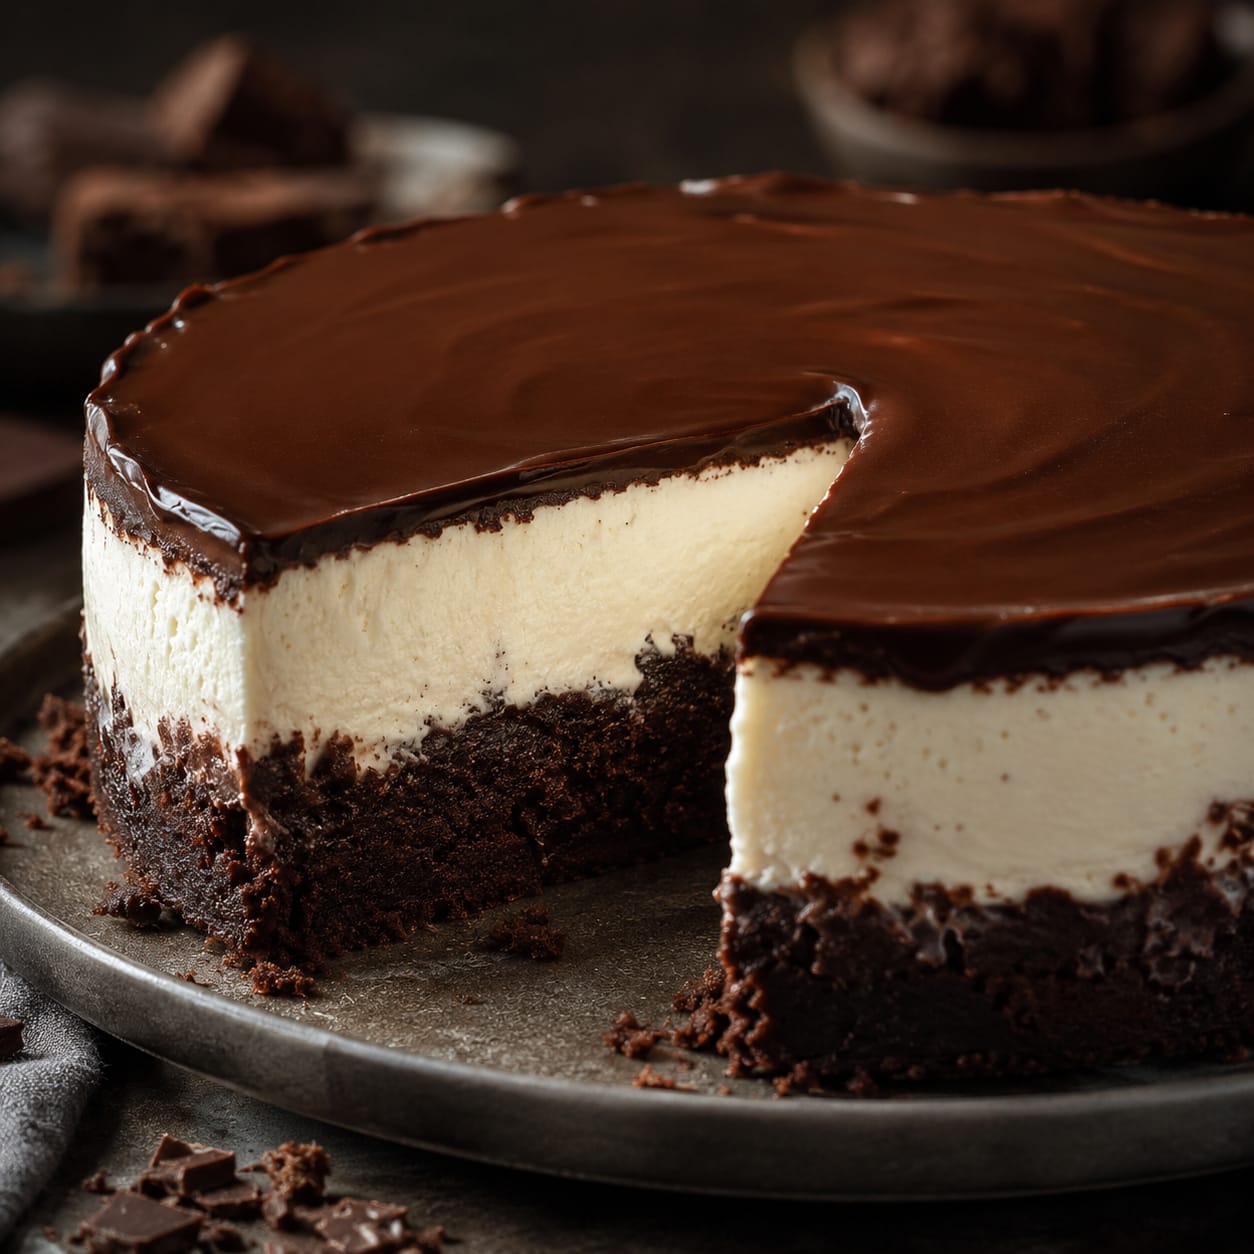

Fudge Brownie Ice Cream Cake
A three-layer frozen dessert with a chocolate brownie base, vanilla nondairy cream, and a rich chocolate fudge topping. The family proportions make a large batch for entertaining or freezing ahead.
Ingredients
Equipment
Method
- Preheat oven to 350°F / 175°C. Grease two 9×13-inch pans or four 9-inch round pans.
- For the brownie, mix sugar, flour, cocoa, baking soda, and baking powder.
- Add the 2 eggs, nondairy creamer, oil, and vanilla sugar. Stir to combine.
- Add the hot water and mix well. Divide evenly among the prepared pans.
- Bake 30-35 minutes, until the center is set. Cool completely on a wire rack.
- For the vanilla layer, beat the nondairy whipping cream until peaks form, about 4 minutes. Add sugar and vanilla and beat just until combined.
- Spread the vanilla cream evenly over the cooled brownie layers. Freeze until firm.
- For the fudge, beat the pasteurized eggs with the confectioners’ sugar until light and fluffy.
- Melt the chocolate and margarine together over low heat. Cool slightly.
- Stir the melted chocolate mixture into the egg mixture until combined. Spread over the frozen vanilla layer.
- Freeze until firm. Slice and serve frozen.
Notes
Recipe #112
Category: Frozen Desserts, Cakes & Sweet Extras
Yield: 2 (9×13-inch) pans or 4 (9-inch) round pans
Method: Bake, whip, layer, freeze
Prep: Not specified on family recipe
Bake/Freeze: Bake 30-35 min; freeze until firm
Difficulty: Intermediate
Recipe Details
Kosher: Pareve when all chocolate, creamer, whipping cream, and margarine are pareve. Texture: Fudgy cake, creamy center, rich frozen chocolate top. Best feature: Makes several pans at once.
Important Egg-Safety Correction
The fudge layer is frozen without being cooked after the eggs are added. Use pasteurized shell eggs or pasteurized egg product for the 6 eggs in the fudge layer. Do not use ordinary raw shell eggs in the finalized website version.
What a Beginner Should Look For
Brownie: Center set and no longer liquid. Vanilla layer: Whipped to firm peaks before spreading. Fudge: Smooth and glossy after the chocolate mixture is incorporated. Finished dessert: All three layers firm enough to slice.
Why Pasteurized Eggs Are Required
Because the fudge eggs are not cooked after mixing, the website version follows established food-safety guidance for uncooked egg desserts and uses pasteurized eggs.
Beginner Tips
- Cool the brownie completely before adding the vanilla layer.
- Keep the whipping cream cold until beating.
- Freeze the vanilla layer before adding fudge so the layers stay separate.
- Cool the melted chocolate-margarine mixture slightly before combining it with the pasteurized eggs.
- Use a sharp knife for neat frozen slices.

Leave a Reply