
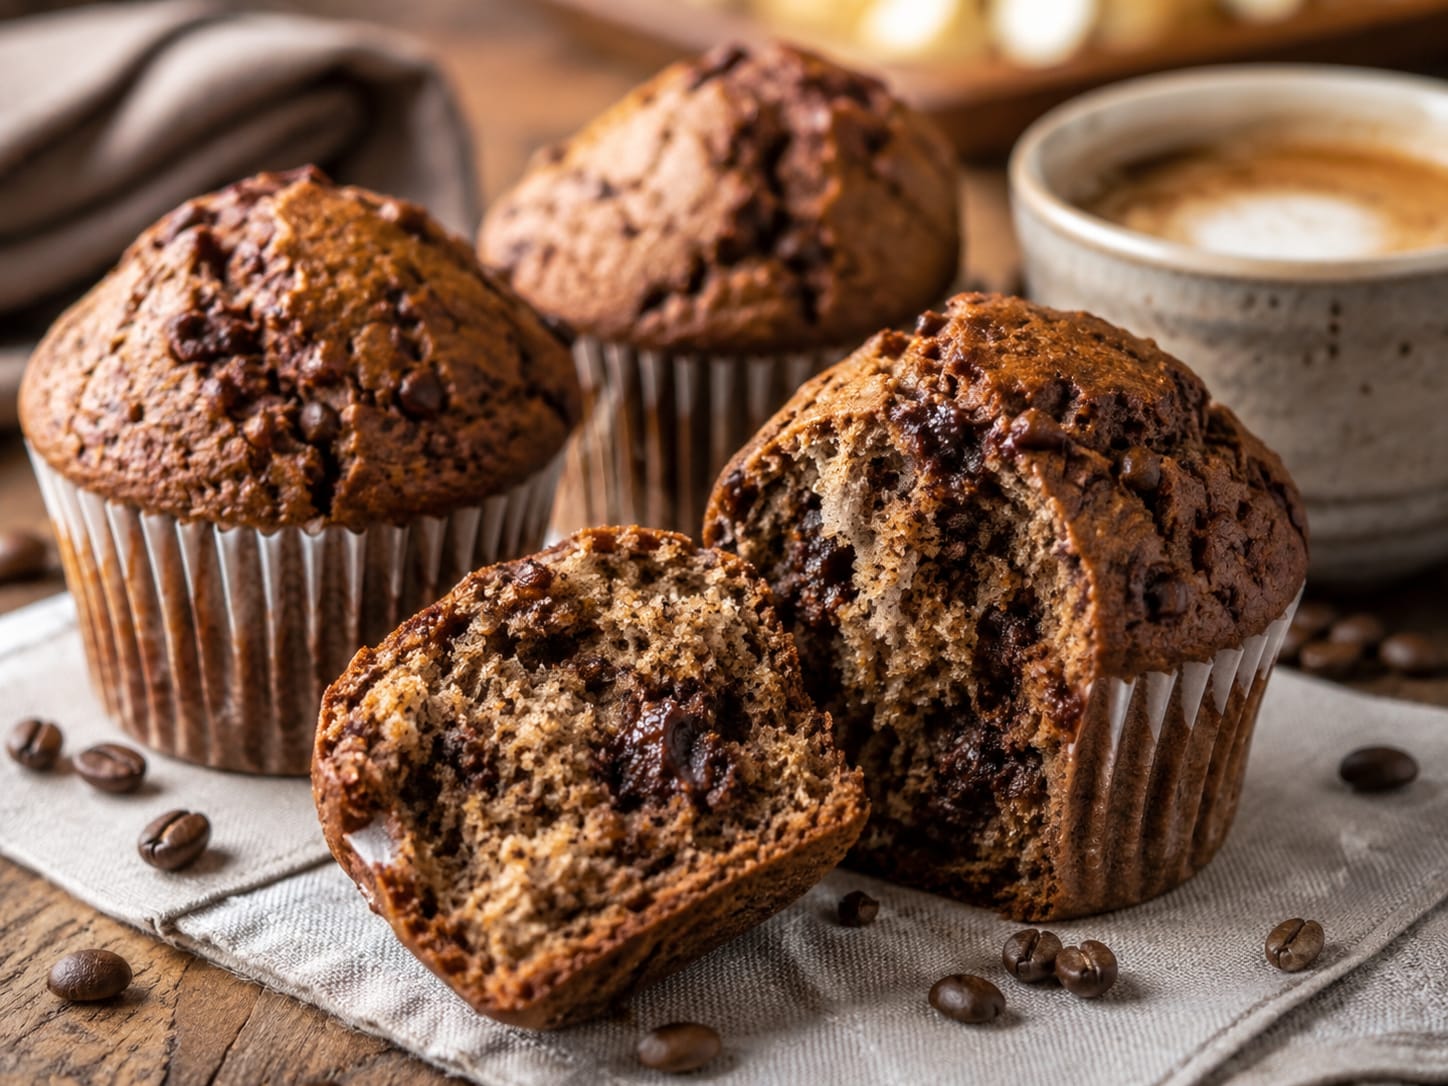

Chocolate Cappuccino Muffins
Soft chocolate-speckled muffins with a warm cappuccino flavor, made quickly in the food processor.
Ingredients
Equipment
Method
Method
- Preheat the oven. Heat to 350°F / 175°C. Line a 12-cup muffin pan with paper liners or lightly grease the cups.
- Dissolve the coffee. Stir the instant coffee into the 2 tsp hot water until fully dissolved. Set aside.
- Chop the chocolate. Place the chocolate chips in the food processor and pulse until they become small uneven pieces, with a mix of tiny chips, flecks, and chocolate crumbs.
- Do not over-process. Use short pulses. Stop before the chocolate warms enough to melt into a paste.
- Add the remaining ingredients. To the chopped chocolate add the flour, baking powder, dissolved coffee, sugar, oil, eggs, cold water, and vanilla.
- Mix just until combined. Pulse only until the batter comes together. Do not keep processing once the flour disappears.
What the Batter Should Look Like
- The batter should be medium-thick, pourable, and heavily speckled with tiny chocolate pieces. It should look smooth enough to scoop, but not whipped or airy.
Fill the Muffin Pan
- Divide the batter. Fill each muffin cup about 3/4 full.
- Do not overfill. If your muffin cups are smaller and you have extra batter, make a few mini muffins instead of filling the standard cups to the top.
Bake
- Bake. Bake at 350°F / 175°C for 20-25 minutes.
- Start checking at 20 minutes. Larger muffins may need closer to 25 minutes.
- Check for doneness. The tops should look set and spring back gently when touched.
- Use the toothpick test carefully. A toothpick inserted into the cake portion should come out clean or with a few soft crumbs. Melted chocolate on the toothpick does not necessarily mean the muffin is underbaked.
Cool and Serve
- Cool briefly. Leave the muffins in the pan for about 5 minutes.
- Transfer. Move to a cooling rack.
- Serve warm. These muffins are especially good while still slightly warm.
Notes
Chopped Chocolate
Instead of leaving whole chocolate chips, the food processor chops them into tiny pieces, shards, and chocolate flecks. That spreads chocolate through the entire muffin instead of leaving only a few large pockets.
Without a Food Processor
Finely chop the chocolate chips with a large knife. Whisk the flour, baking powder, and sugar in one bowl. In another bowl, whisk the dissolved coffee, oil, eggs, cold water, and vanilla. Pour the wet mixture into the dry, add the chopped chocolate, and stir only until combined.
Mini Muffins
Fill mini muffin cups about 3/4 full and begin checking around 12-15 minutes. Remove once the tops are set and gently springy.
Make Ahead, Storage & Freezing
- Room temperature: Store airtight for about 3-4 days.
- Freezer: Freeze completely cooled muffins airtight for up to 3 months.
- To refresh: Microwave a thawed muffin for about 10-15 seconds to bring back the warm, soft texture.

Leave a Reply